Learn · Tutorials and resources
Master the grid drawing method.
A five-step walkthrough to get the first drawing off the reference, nine long-form guides that take it from there, and the reference material sitting behind all of them. Everything is free to read, nothing is gated, and nothing asks for an account.
Read straight through as a course, or jump to the level you are working at.
- Long-form guides
- 9
- Levels
- 3
- Steps to start
- 5
- Price, forever
- $0
How to transfer an image with a grid
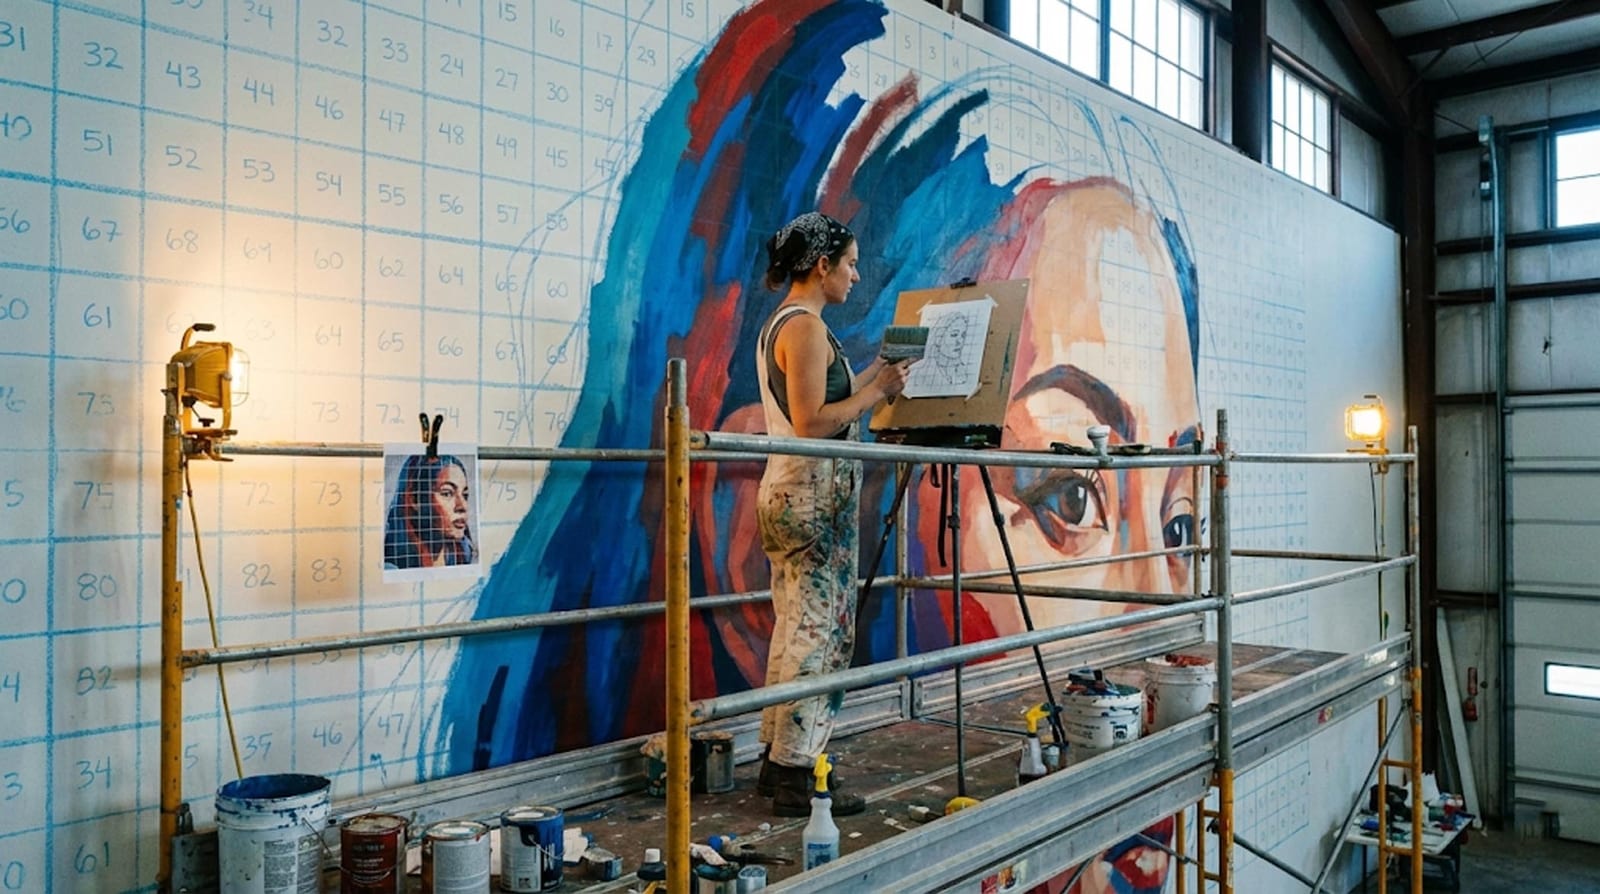
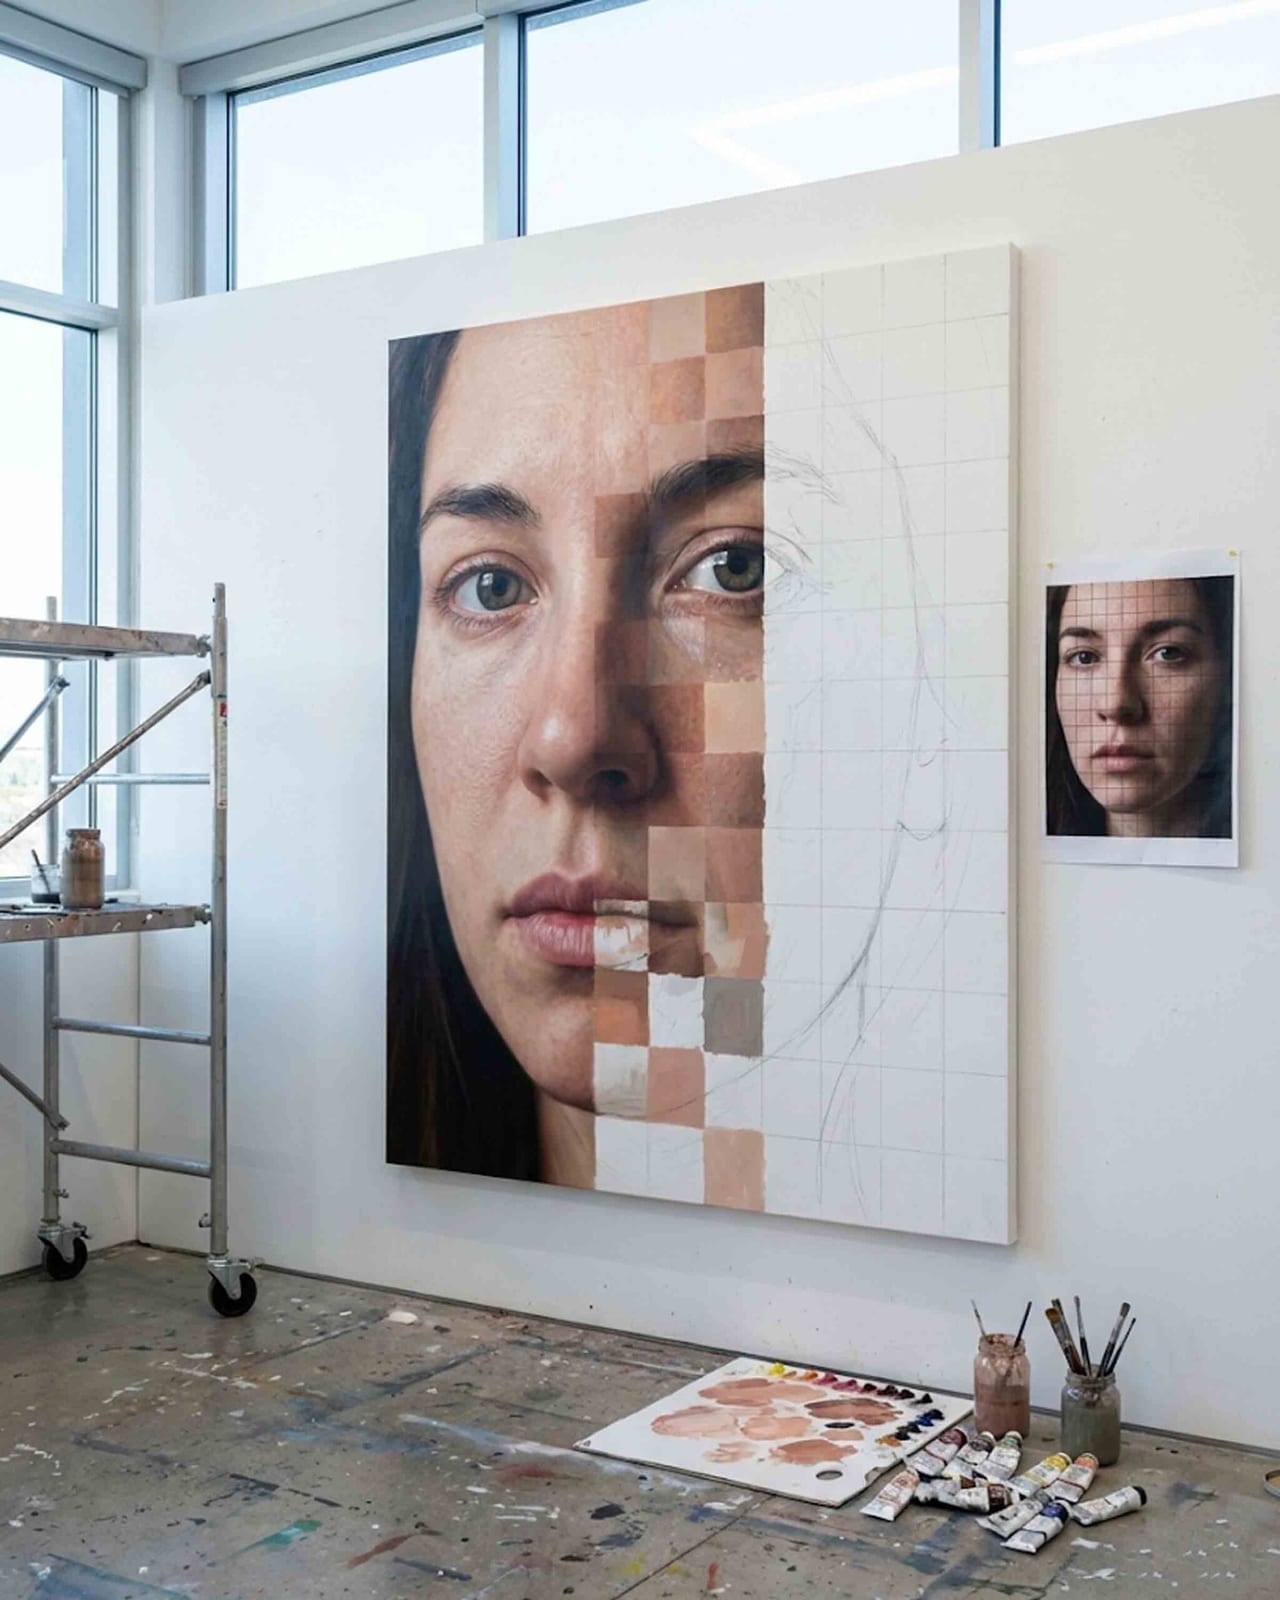
The same sequence Dürer used with a gridded frame in 1525 and Chuck Close used on nine-foot canvases in the 1970s. Divide the reference, divide the surface the same way, then draw one small square at a time instead of one large image.
-
Upload your reference image
Choose a clear, high-quality reference photo and drop it into the tool. Nothing uploads to a server — the image stays in the browser on your own device.
Start with a subject that reads clearly at thumbnail size and has real contrast between light and shadow.
-
Choose the grid type and density
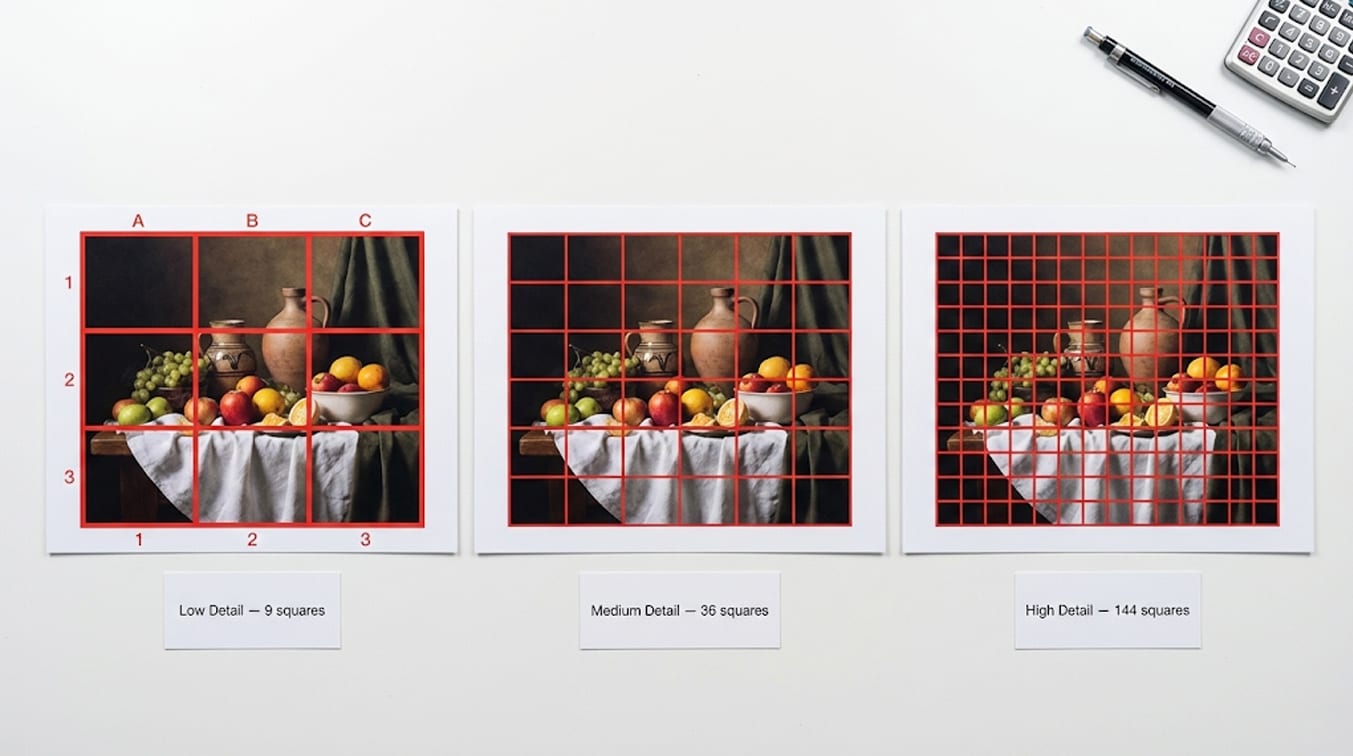
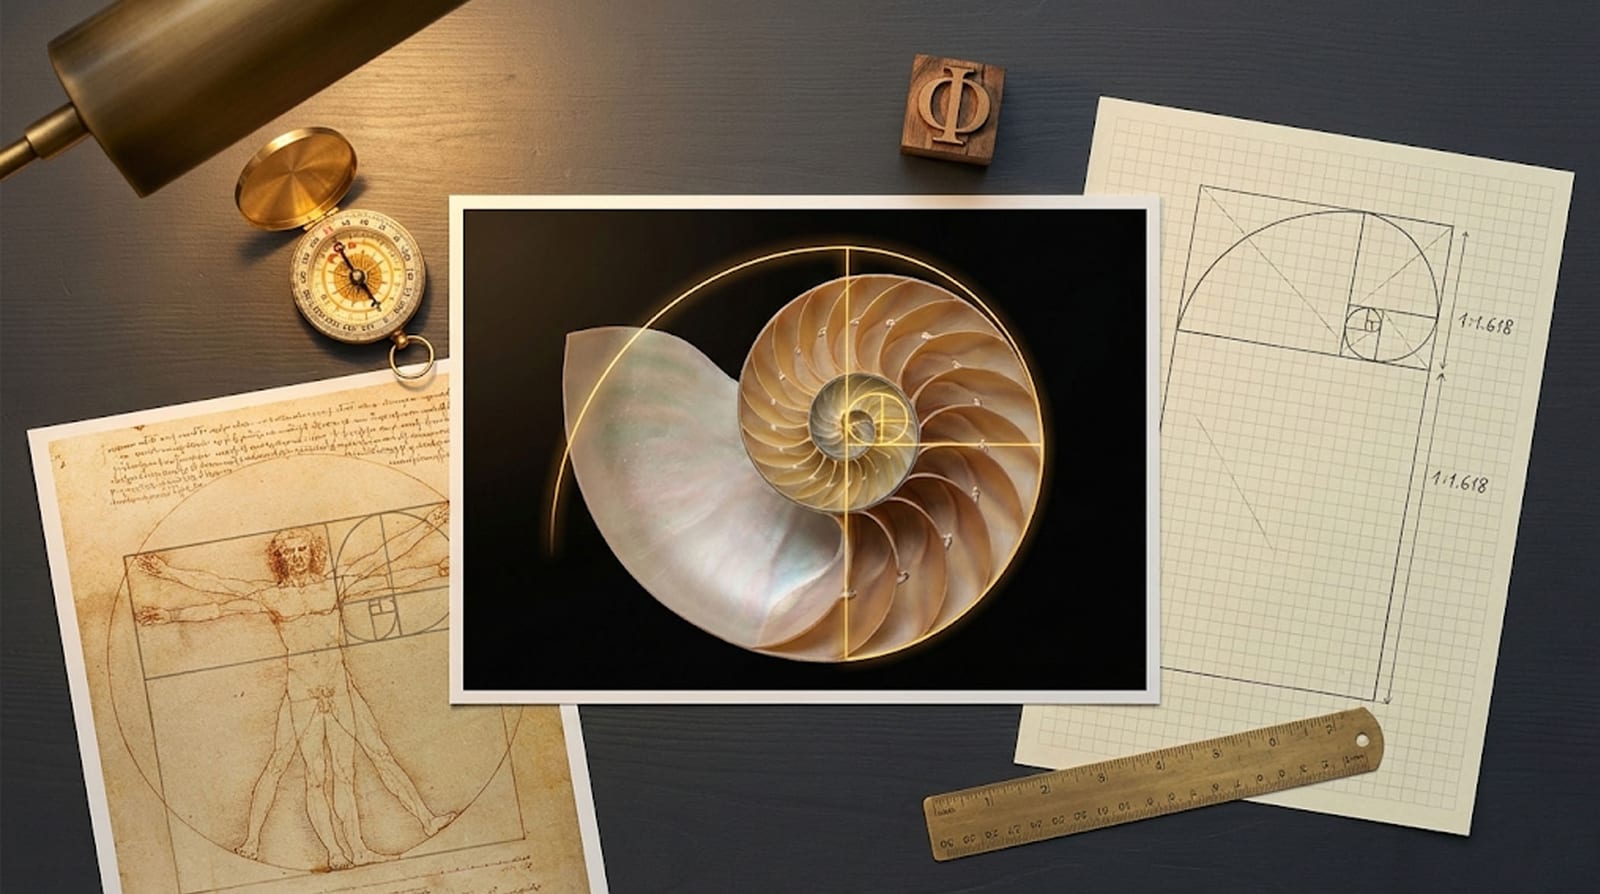
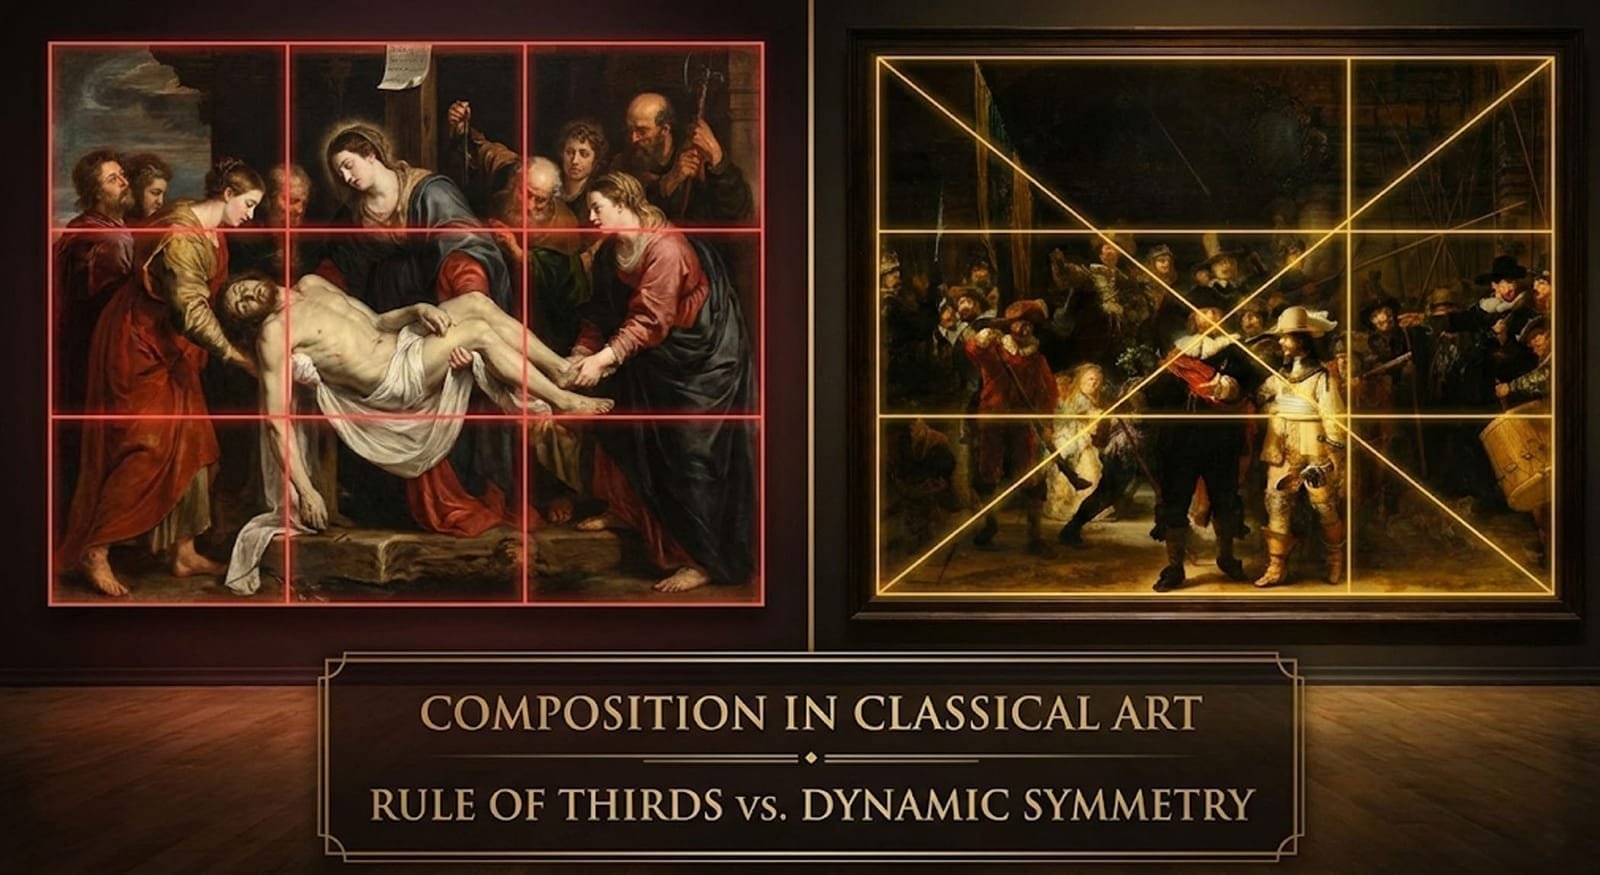
Square grids for transfer work; rule of thirds, golden ratio or dynamic symmetry when the question is composition rather than accuracy. Set rows and columns independently.
Six by six or eight by eight covers most first drawings. Denser grids buy accuracy and cost time.
-
Tune how the grid reads
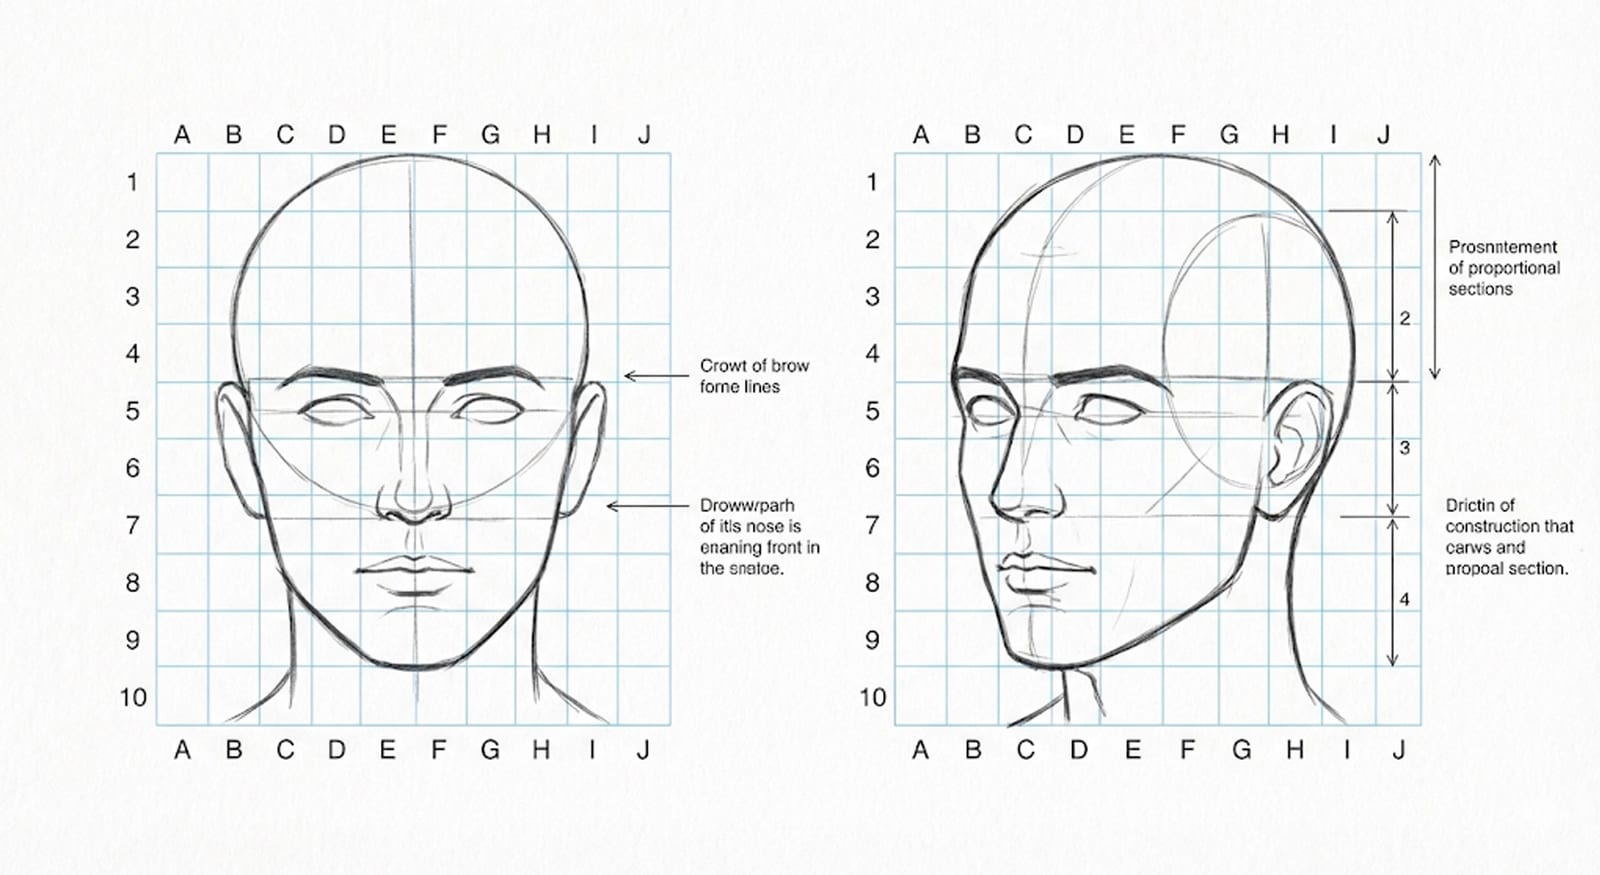
Adjust line colour, weight and opacity until the grid sits clearly on top of the image without burying it. Switch on A1 / B2 / C3 labels if you want to call squares by name.
Pick a line colour the reference does not already contain, then drop opacity until the image comes back.
-
Rule the matching grid on your surface
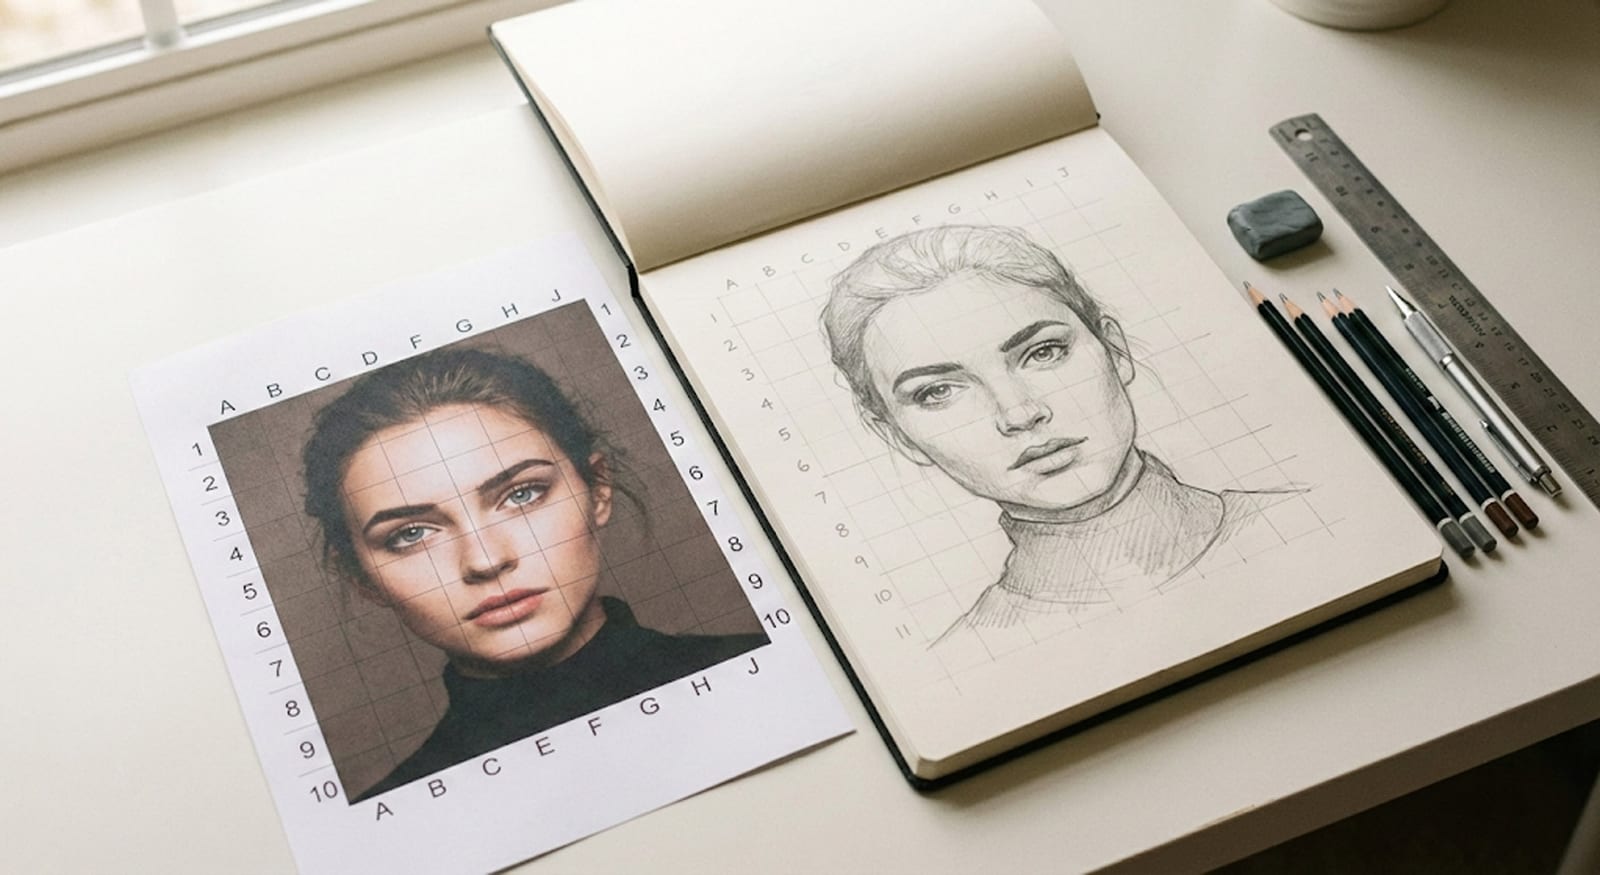
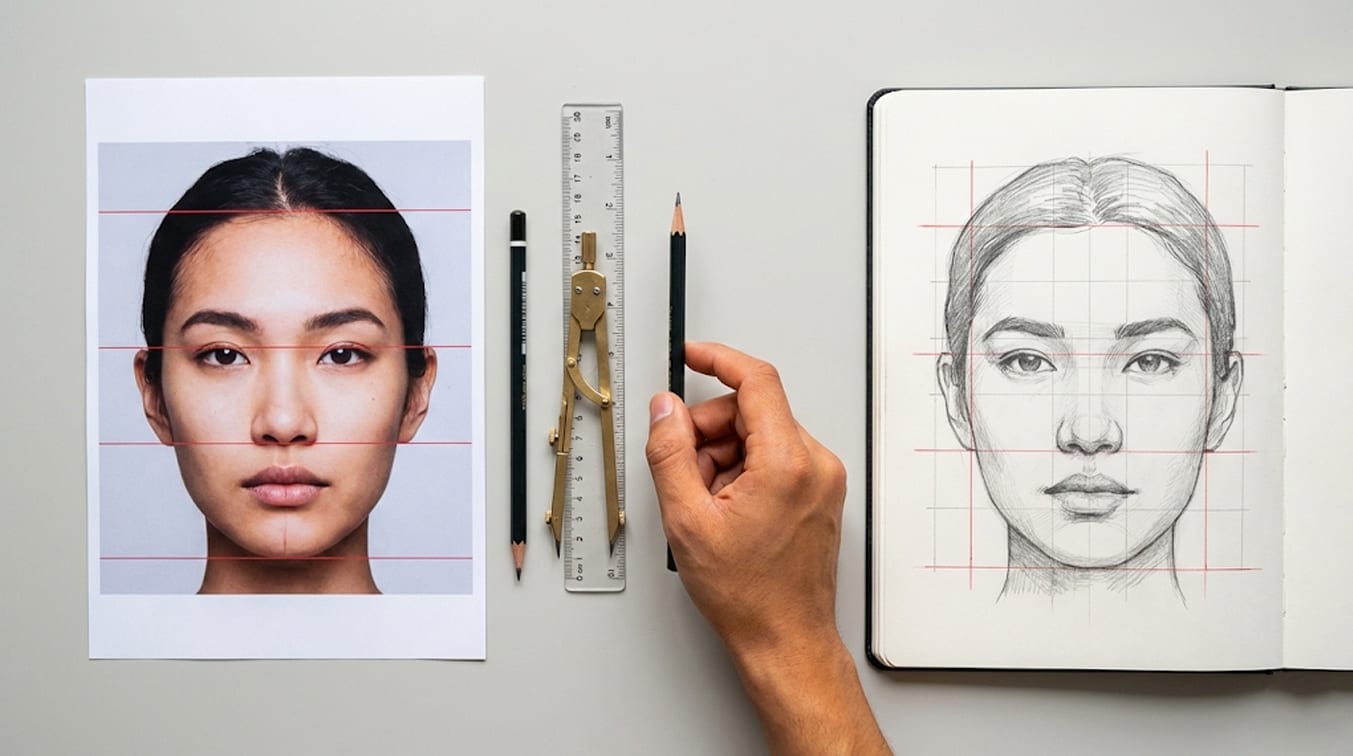
Draw the same division on paper or canvas with a ruler and a hard pencil. Keep the proportion identical — the number of squares stays the same whether you are working at postcard size or mural size.
Rule it faintly. Every line you draw here has to disappear later.
-
Work one square at a time
Copy the shapes inside a single reference square into the square that matches it, then move on. Work across in rows rather than chasing the parts of the subject you find interesting.
You are not drawing a face. You are drawing the marks inside one small rectangle — which is the whole trick.
Guides, in the order they help
Each of these is a full guide rather than a summary — the shortest runs past four thousand words. They are grouped by what you already know, not by how long they take.
Start here
Nothing assumed-
-
-
Build technique
Once the first drawing is done-
-
-
Go deeper
Atelier territory-
-
-
Reference material behind the guides
The catalogue itself, the flagship reference that documents all 82 overlays, and the machine-readable version of the same data for anyone building against it.
- The grid library All 82 overlays browsable by category, each one opening straight into the tool with the overlay already loaded. Browse the library
- The 82-overlay reference A 5,640-word flagship guide covering every overlay in the catalogue, from composition classics through sacred geometry, with a recommendation for each. Read the reference
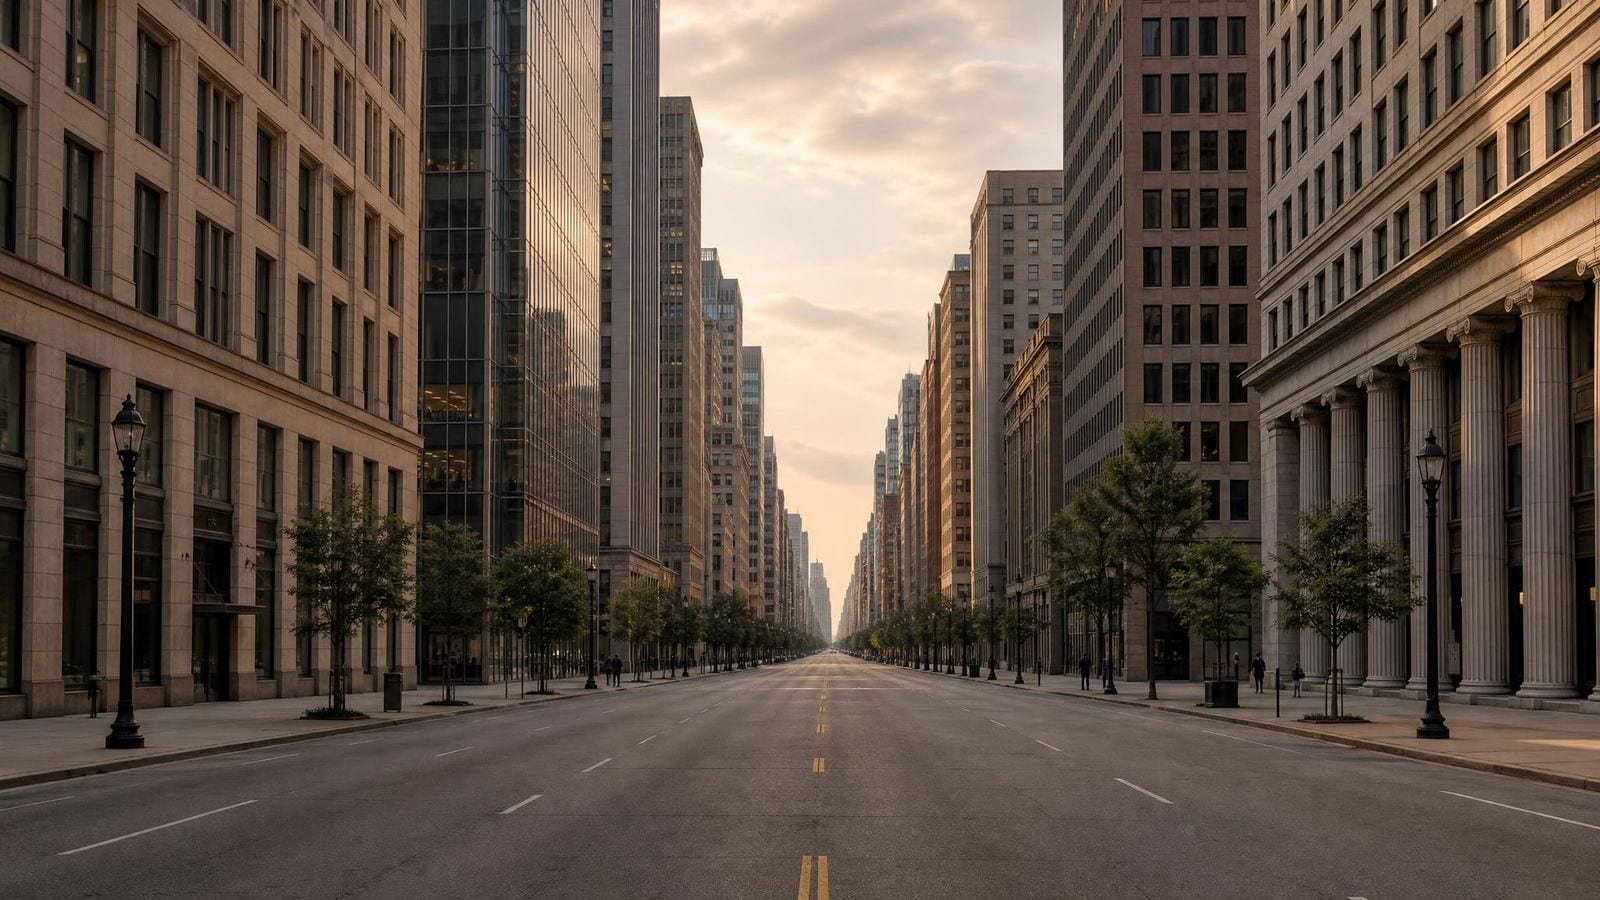
- Composition for photographers Every composition overlay worth knowing behind a viewfinder — thirds, golden ratio, dynamic symmetry — each with a worked frame. Read the pillar
- Sacred geometry in art history From the Vesica Piscis through the Sri Yantra: the traditions behind the nineteen overlays in the sacred-geometry category. Read the pillar
- The glossary Every term these guides use, defined with a diagram — armature, reciprocal diagonal, sight-size, root rectangle, rhythm line. Open the glossary
-
The public overlay API
All 82 overlays as machine-readable JSON at
/api/overlays.json, published under CC BY 4.0. Build against it freely. Open the JSON
Questions people ask before they start
Is using a grid considered cheating in art?
No. The grid method has been used by master artists for centuries, including Leonardo da Vinci, Albrecht Dürer, and Chuck Close. It's a legitimate tool for learning proportions and creating accurate artwork. Many professional artists still use grids today.
How long does it take to learn the grid method?
Most beginners can understand and start using the grid method within 30 minutes. Creating your first complete drawing using grids might take 2-4 hours. With practice, you'll become faster and more accurate.
What materials do I need to start grid drawing?
You need: reference image with grid, drawing surface (paper/canvas), ruler, mechanical pencil (for light grid lines), eraser, and your regular drawing materials. Grid Maker Pro provides the gridded reference image for free.
Should I eventually stop using grids?
That's up to you. Many artists use grids as a training tool and eventually develop strong freehand skills. Others continue using grids for accuracy in professional work. Both approaches are valid - it depends on your goals and workflow.
Can grid drawing help improve my freehand skills?
Yes. Grid drawing trains your eye to see proportions, angles, and spatial relationships more accurately. This observational training transfers to freehand drawing, making you better at assessing proportions without aids.